September 24, 2026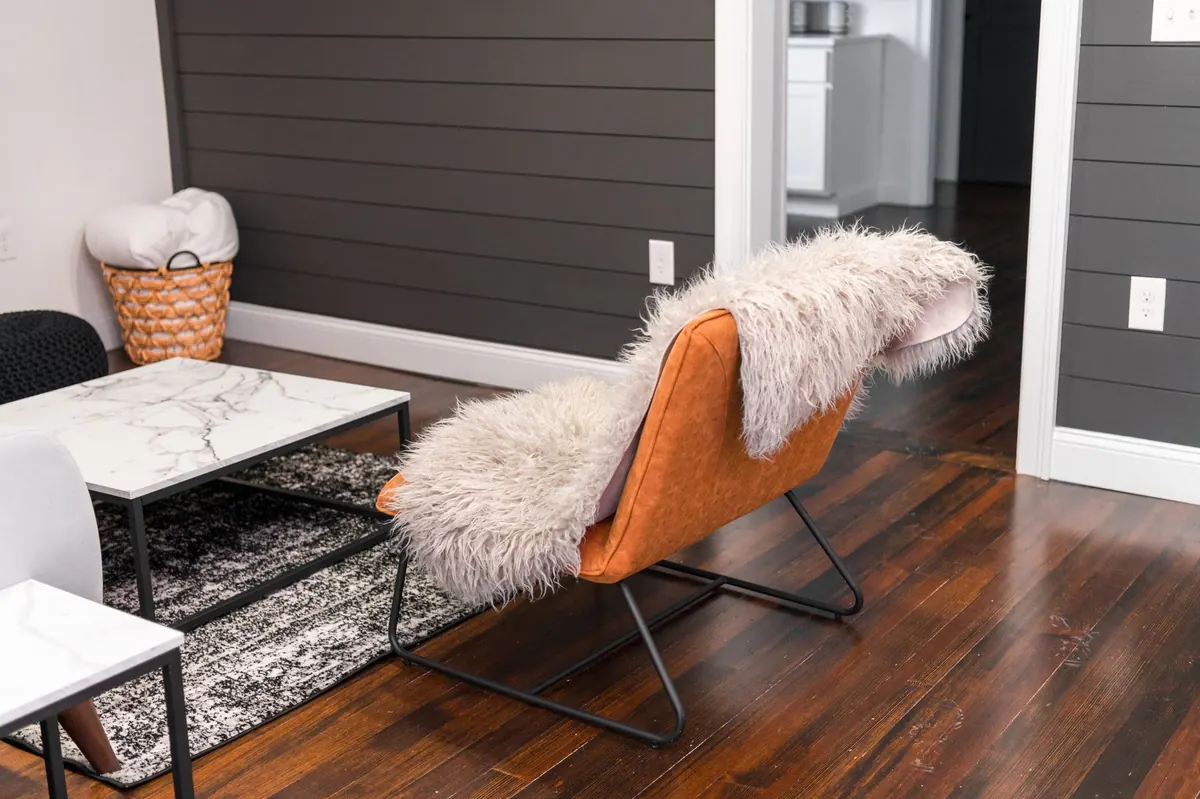
There's a reason shiplap keeps turning up in cottage rooms. Those horizontal lines stretch a small space sideways, the shadow gap adds texture without asking for a busy pattern, and most of the cost is your own Saturday. You don't need a workshop or years behind a saw. If you can measure twice, drive a nail straight, and make peace with the fact that no wall is ever square, one accent wall is a weekend project. Here's the whole process, start to finish.
Plan the Wall Before You Buy a Single Board
Pick a wall you actually look at: behind the bed, behind the sofa, or the first wall you see coming through the door. Skip the wall with two windows, a thermostat, and three outlets. Every obstacle adds an hour, and a beginner's first wall should be a confidence builder, not a puzzle.
Then decide orientation. Horizontal boards are the classic cottage look and read as calmer and wider. Vertical boards feel taller and slightly more modern, but they mean more cuts and more measuring, so horizontal is the friendlier first project.
For material, you have three common choices. Primed MDF "nickel gap" planks are the easiest to find and take paint beautifully. Primed pine true shiplap has a rabbeted edge that overlaps, which hides your nails automatically. Ripped-down plywood is the rustic option if you want wide, slightly irregular boards. One caution: MDF does not like damp rooms or unheated cottages, where it can swell. In a bathroom or a three-season porch, choose real wood or PVC planks instead.
Tools and Materials You'll Actually Use
- Tape measure, pencil, and a 4-foot level
- Stud finder
- Miter saw for square cuts, plus a jigsaw for outlet openings
- Brad nailer with 2-inch 18-gauge brads, or a hammer and finish nails
- Construction adhesive and a caulk gun
- Paintable latex caulk, lightweight spackle, and a sanding block
- Painter's tape, a small foam roller, and a 2-inch angled brush
- Safety glasses, hearing protection, and a dust mask for cutting MDF
- Spacers for the gap: a stack of pennies or a few tile spacers work fine
Order roughly 10 to 15 percent more material than your square footage, since corners, outlets, and miscuts eat boards. Buy it all at once so the boards match.
Prep the Wall Properly
Take down outlet and switch covers and drop the screws in a cup so they don't vanish. Patch nail holes and dents with spackle, sand them flat, and wipe the wall clean. If the paint is glossy, scuff it with 120-grit paper so adhesive and boards sit tight.
Here's the step most beginners skip: paint the wall before you cover it. A dark or bright wall showing through the gaps turns your crisp shiplap into a stripe of whatever color was there before. A coat of paint close to your final shiplap color is enough.
Finally, run the stud finder across the wall and mark each stud with a strip of painter's tape above your top row. You'll glance at those marks for the next two days.
Lay Out Your Rows and Do the Math
Measure the wall height at both ends and in the middle. Use the smallest number, because ceilings sag and floors rise, and you don't want to run out of room on the last row.
Now divide that height by your board width plus the gap. A 6-inch board with a 1/8-inch gap covers 6 1/8 inches, so an 8-foot wall works out to roughly 15 rows. If the math leaves a remainder, start at the top with a full board and let the cut row fall at the floor, where baseboard and furniture hide it.
Never trust the ceiling to be level. Measure down from it at three points, mark the smallest, and snap a level line from there. Any leftover gap at the top gets covered with a strip of trim or filled with caulk.
Snap that line, check it with your level, and mark your first row.
Cut and Install, Row by Row
Work one row at a time. Measure the row at the left end, the middle, and the right end, because walls bow. Cut to the shortest measurement and caulk the difference later. Write the row number on the back of each board in pencil; once they're cut, they all look alike.
Run a zigzag bead of construction adhesive along the back of the board, press it against your line, and nail it home. On true shiplap, drive nails through the thin rabbeted lip so the next course covers them. On nickel-gap planks, nail near the top edge and fill the holes later. Hit studs wherever you can, and angle the nails slightly so they bite.
Working Around Outlets
Dry-fit the board, mark the outlet opening with a pencil, and cut it with a jigsaw, starting from a drilled hole in the corner. Test the fit before you nail anything. Because the new wall is thicker than the old one, the outlet may sit recessed. A plastic box extender solves this in about two minutes. If wiring makes you uneasy, or you need to move an outlet rather than just extend it, hire an electrician. Turn the breaker off before you work near any box.
Check level every third row or so. Small errors compound fast, and it's much easier to correct two rows in than twelve rows down.
Fill, Caulk, and Paint
Fill nail holes with spackle or paintable caulk, let them dry, and sand lightly. Caulk the top seam, the corners, and any gaps around outlets or trim, then smooth the bead with a wet finger. Prime the cut ends of MDF; they soak up paint and dry dull otherwise.
Paint two coats with a small foam roller for the flats and a brush for the gaps. If this is a cottage project, warm white, soft sage, or a pale blue-gray never disappoint. Choose matte or eggshell. Gloss highlights every imperfect cut, and there will be a few.
A Realistic Weekend Timeline
- Saturday morning: measure, buy materials, clear the wall, patch, and paint the wall behind the boards.
- Saturday afternoon: mark studs, snap your level line, and install the first six to eight rows.
- Sunday morning: finish the remaining rows, including outlet cutouts and the final ripped board.
- Sunday afternoon: fill, caulk, sand, and paint the first coat.
- Monday evening: second coat, reinstall outlet covers, and stand back.
A single wall is a good place to learn, and the mistakes you make are the kind that caulk and paint forgive. Start on the wall above a sofa or behind a bed, where you'll see the result every day but nobody will inspect your nail spacing. Once this one is up, you'll be eyeing the hallway.
Photo: Andrea Davis / Pexels